

In this guide, you’ll learn how to create jobs in Local Service Hero.
First, you need to log in to your Local Service Hero account.
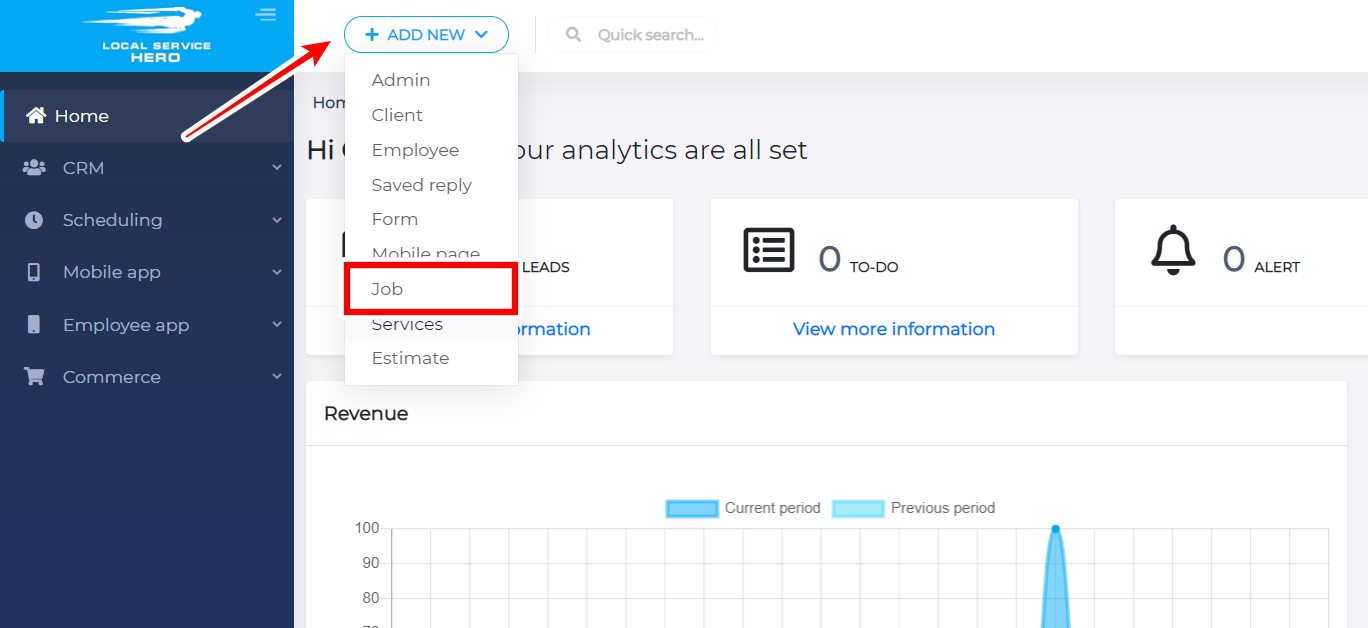
Second, click the Add New dropdown and select Job.
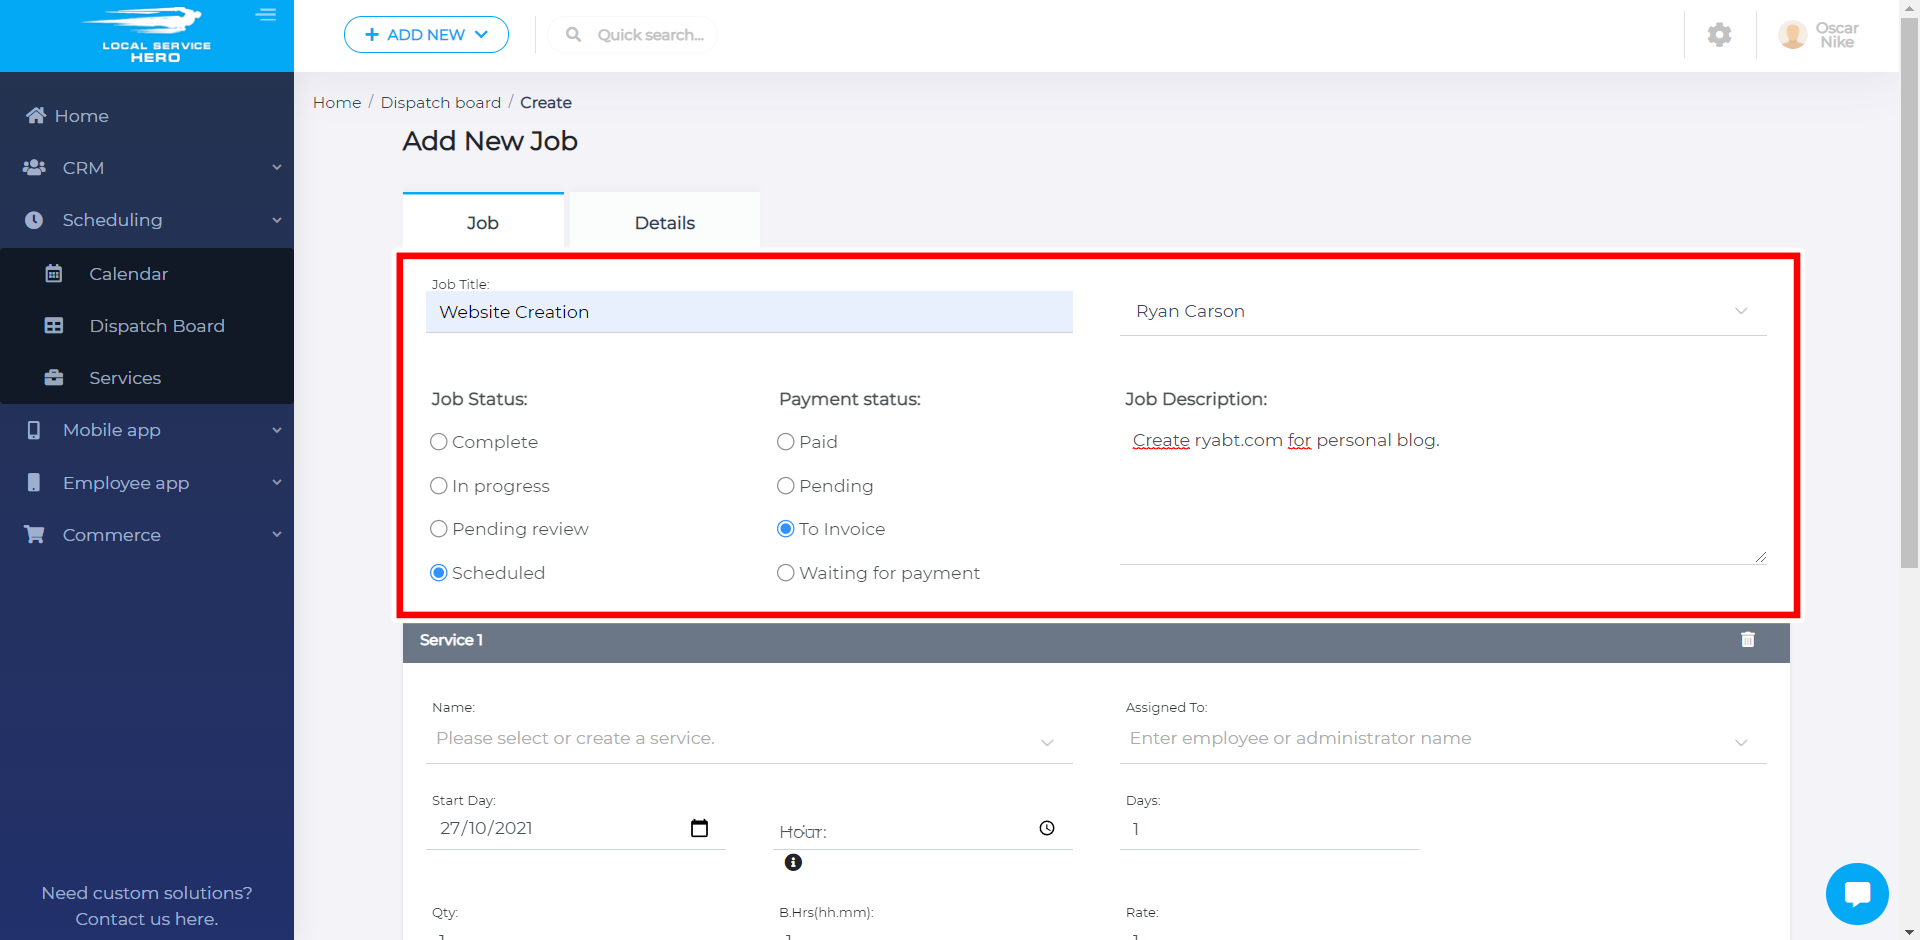
Third, you need to add the following information:
- Job title: Enter the job title in this field.
- Client: Select the client who needs the job.
- Job Status: You can select from these options:
- Complete – The job was already done and has been approved.
- In progress – The job is being done currently.
- Pending review – The job needs to be approved.
- Scheduled – The job has been scheduled for a future date.
- Payment Status: You can select from these options:
- Paid – The client has already paid for the job whether it’s completed or not.
- Pending – The job has been invoiced, but it has not been paid for, even if it’s been completed.
- To invoice – The job has not been invoiced yet.
- Waiting for payment –
- Job Description: Here you can write what the job is about, etc.
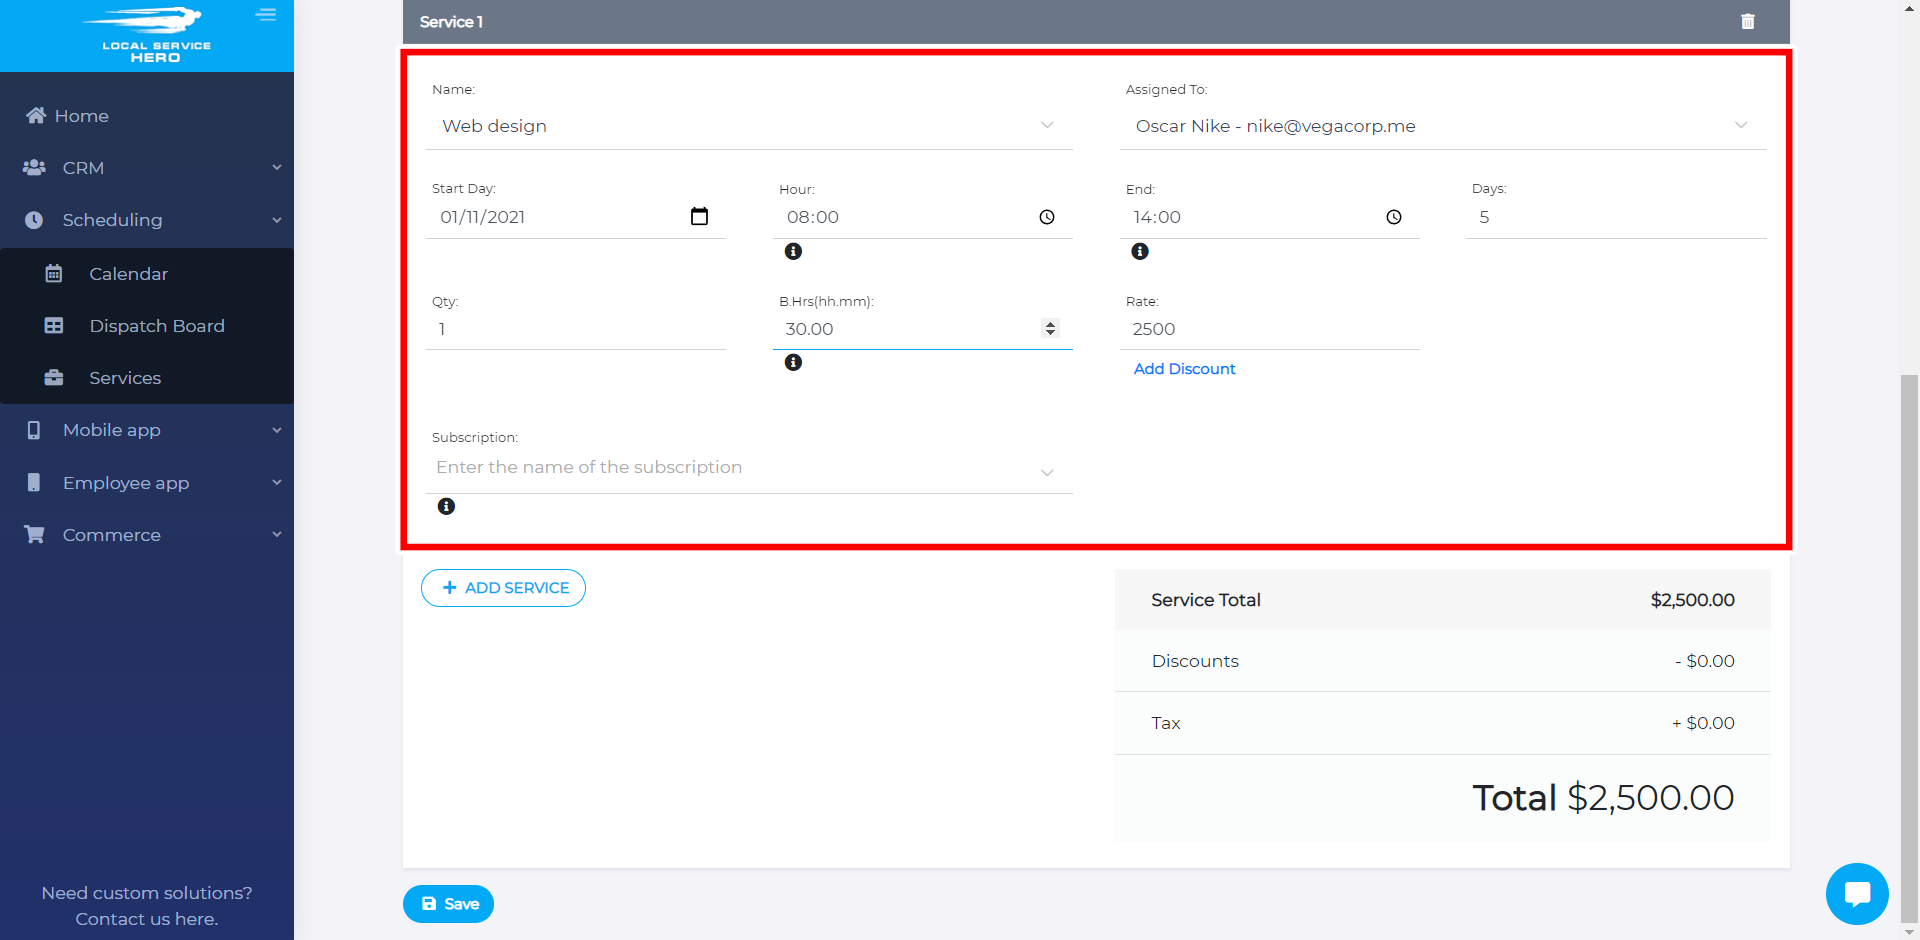
In Service 1, you need to state what the job will require in terms of tasks, workers, time, etc.
- Name: Write the name of the service here.
- Assigned to: Type some letters and the platform will suggest employees’ names.
- Start day: When the service will be provided.
- Hour: What time the service will start being provided.
- End: What time the service will stop being provided.
- Days: During how many days the service will be provided.
- Qty: How many times the service will be provided. For example, if you will design websites, how many websites will be created.
- B.Hrs(hh.mm): How many working hours will be required to complete the service.
- Rate: How much you will charge for this service.
- Subscription: Enter the name of a suscription service. For example, this service can be part of the0 “Website Creation and Management” subscription service.
In the Details tab, you’ll be able to select the maximum hours per day that the employee will be allowed to work on that project.
Also, you’ll select which days of the week are included if the service requires multidays.
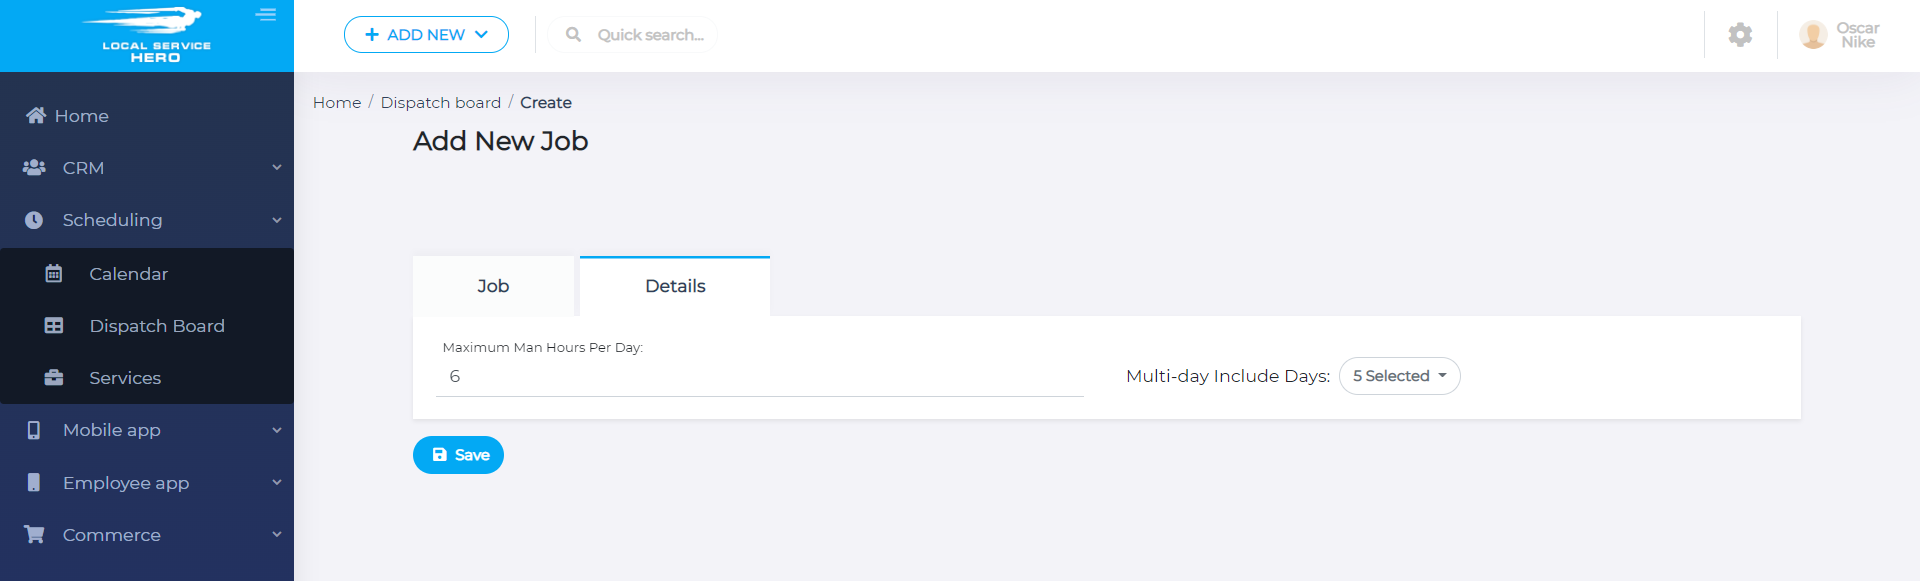
Once you’re done, hit Save and the job will be shown in the Dispatch Board page:
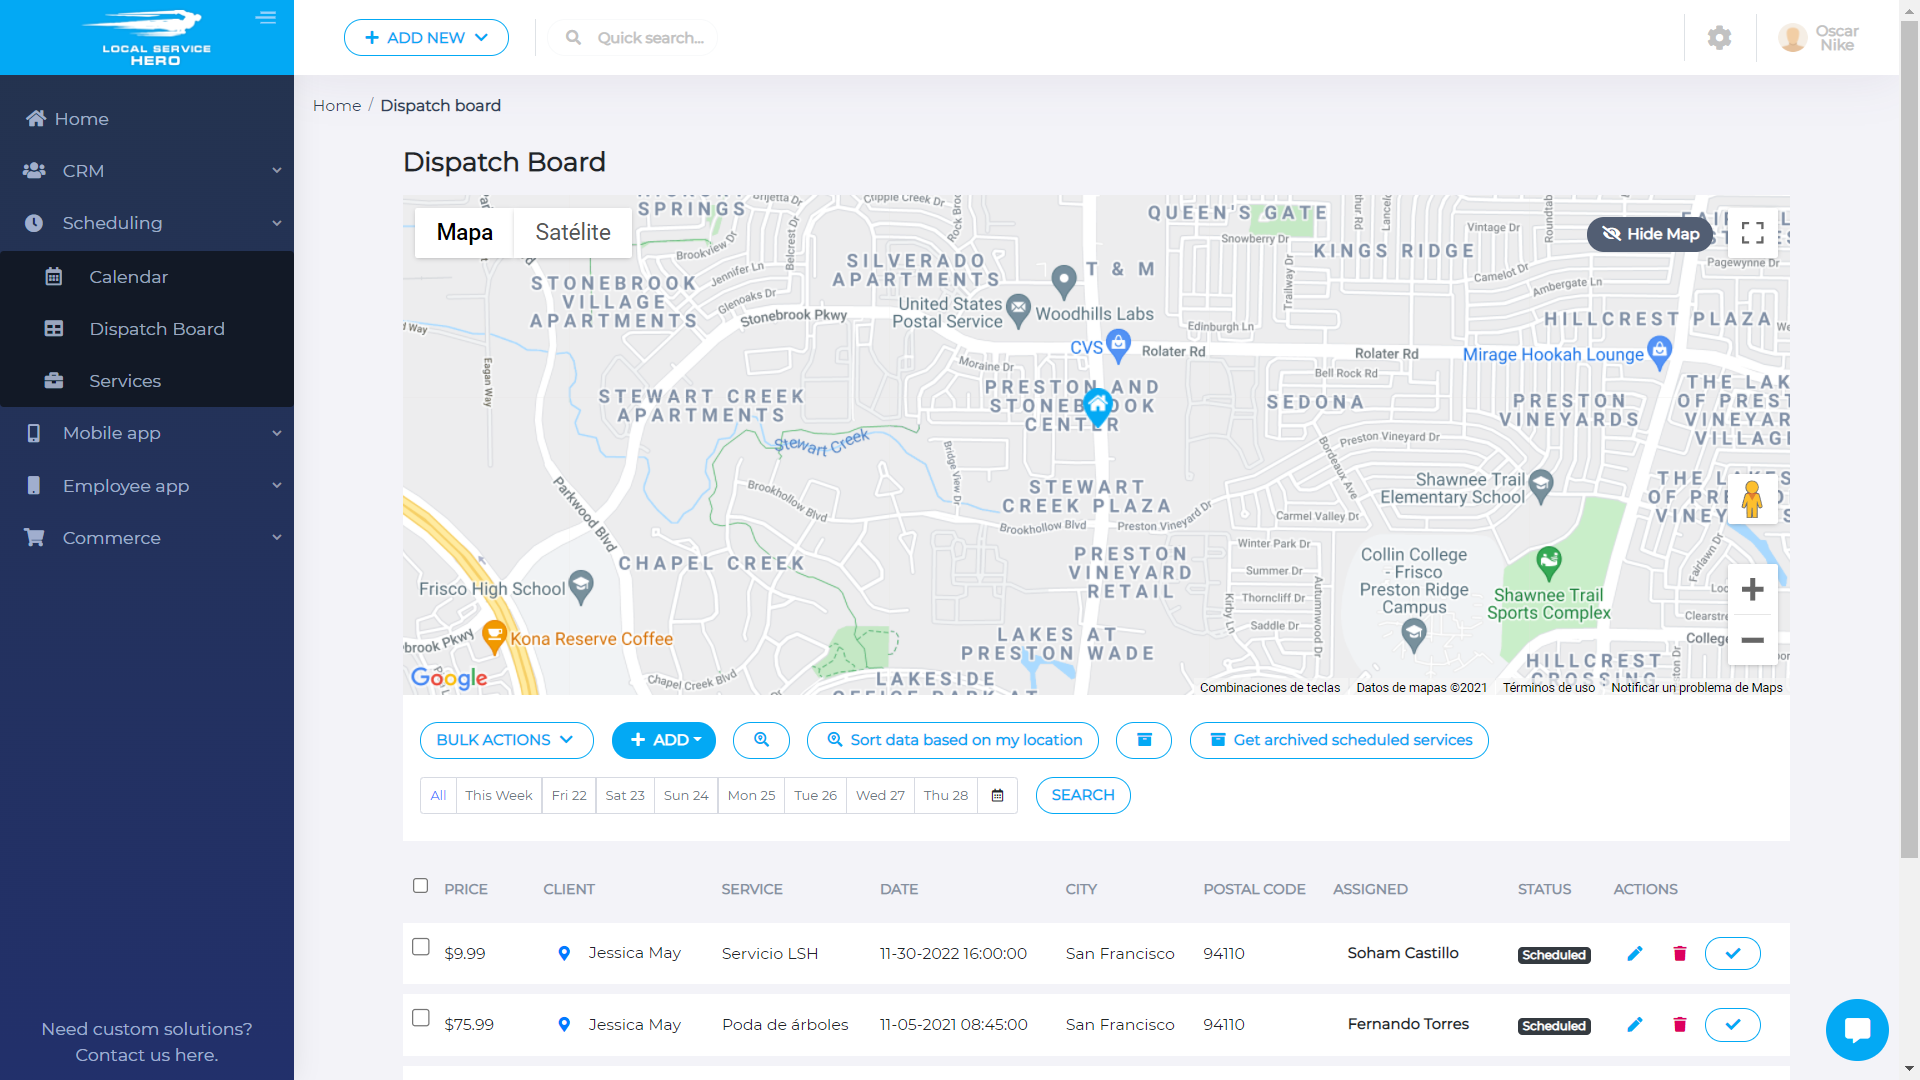
By following these steps, you can create jobs in Local Service Hero.


