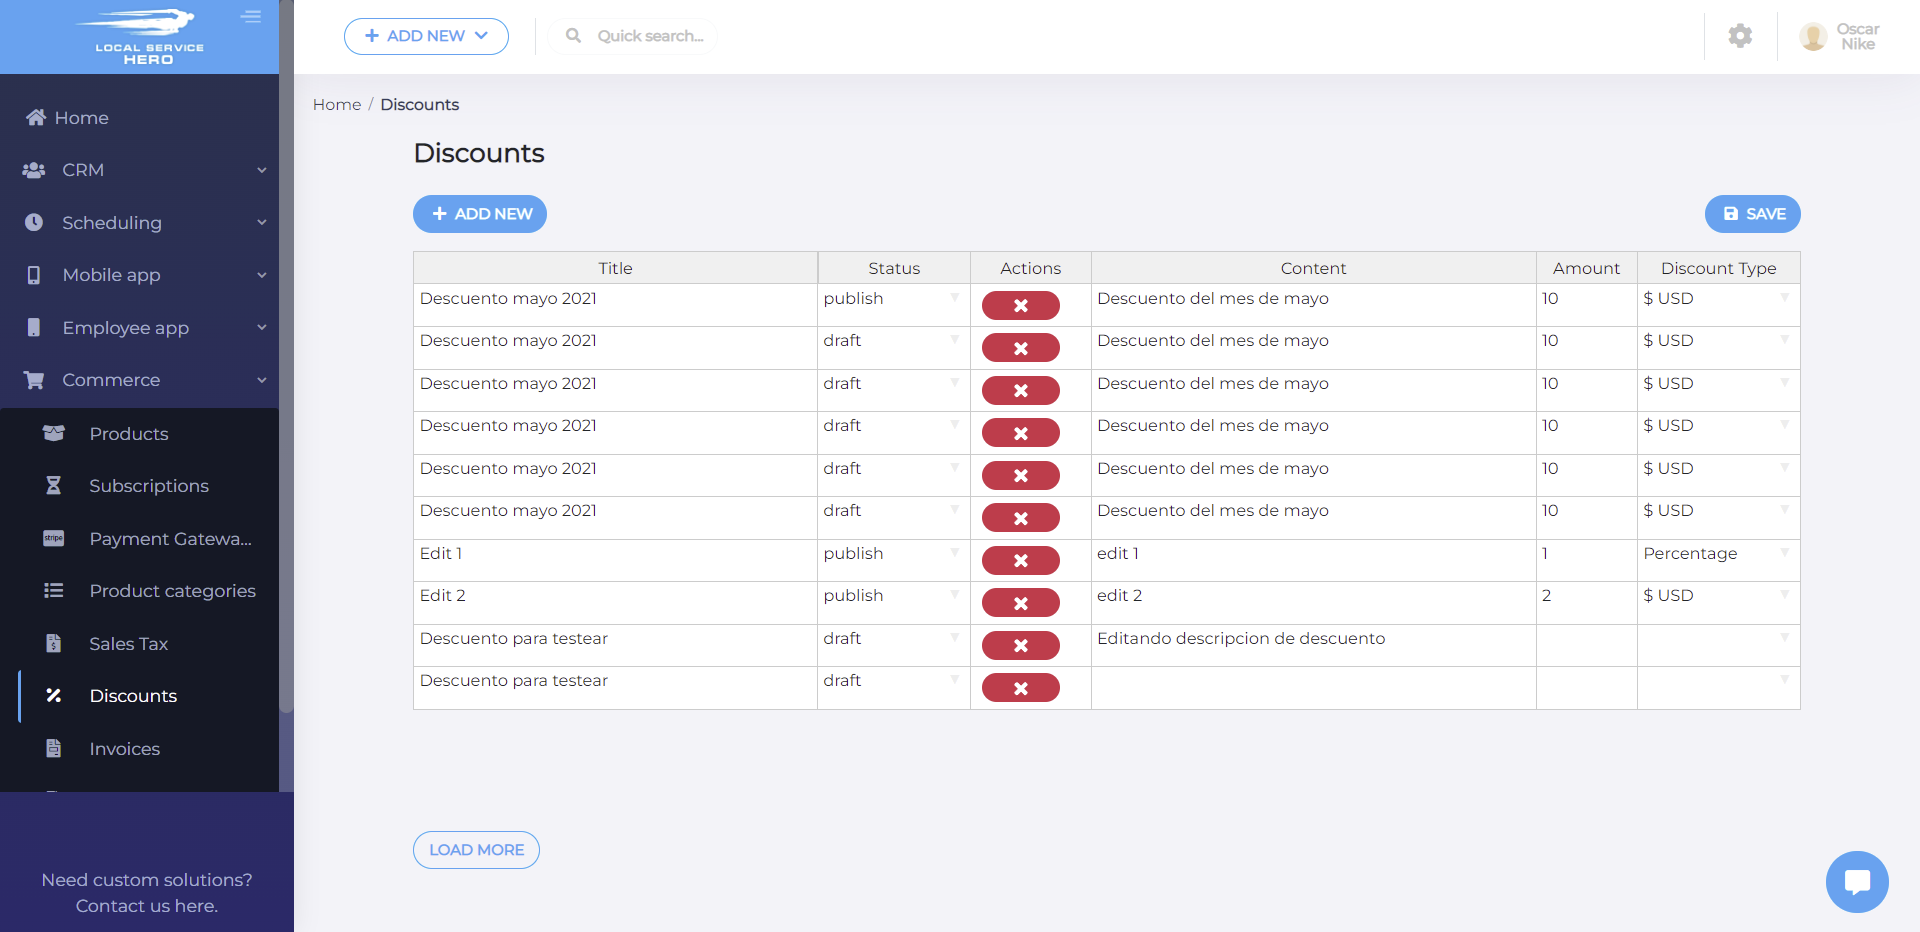
Let’s learn how to manage discounts in Local Service Hero. Besides selling products and services, you can create discount coupons to attract more customers to your web shop.
Go to Commerce > Discounts.
Once there, you’ll see a spreadsheet with all your discounts.

If you want to create a new discount, click on “Add New” to add a new row to the spreadsheet. Then you just need to add the information for your discount.
These are the columns you need to use to create and manage the discounts:
- Title: Add the discount name here.
- Status: You can select publish or draft.
- Actions: Use this to delete any discount.
- Content: Add a description here.
- Amount: Enter the percentage or amount here.
- Discount type: You can select “Percentage” to create a relative discount (10% for example), or the currency to create a fixed discount ($10.00 for example).
Once you finish editing your discounts, hit Save to apply the changes or save the new discounts.


