
In this tutorial, we will show you how to create forms in Local Service Hero.
You will be able to create new contact forms, forms to get leads, forms for customers to request new services, forms to collect important information for your marketing campaigns, and so on.
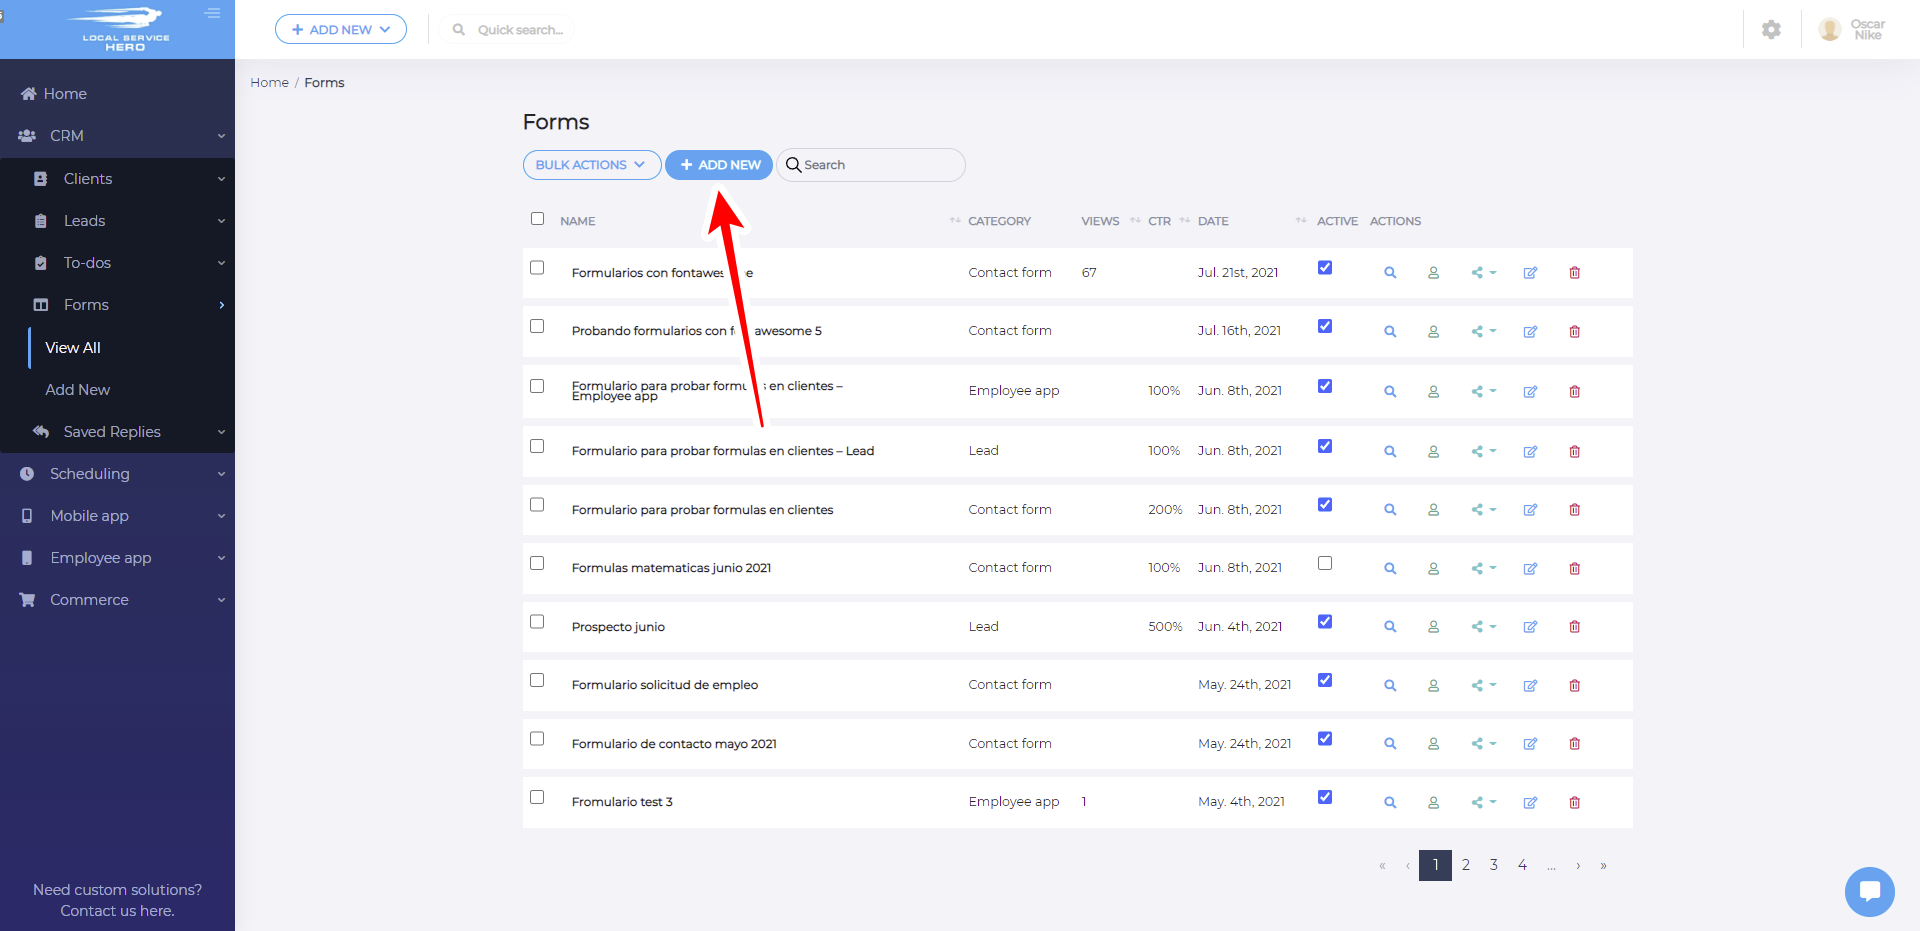
First, you need to log in to your Local Service Hero account. Once you do it, you need to open the Forms page by going to CRM > Forms > View All.
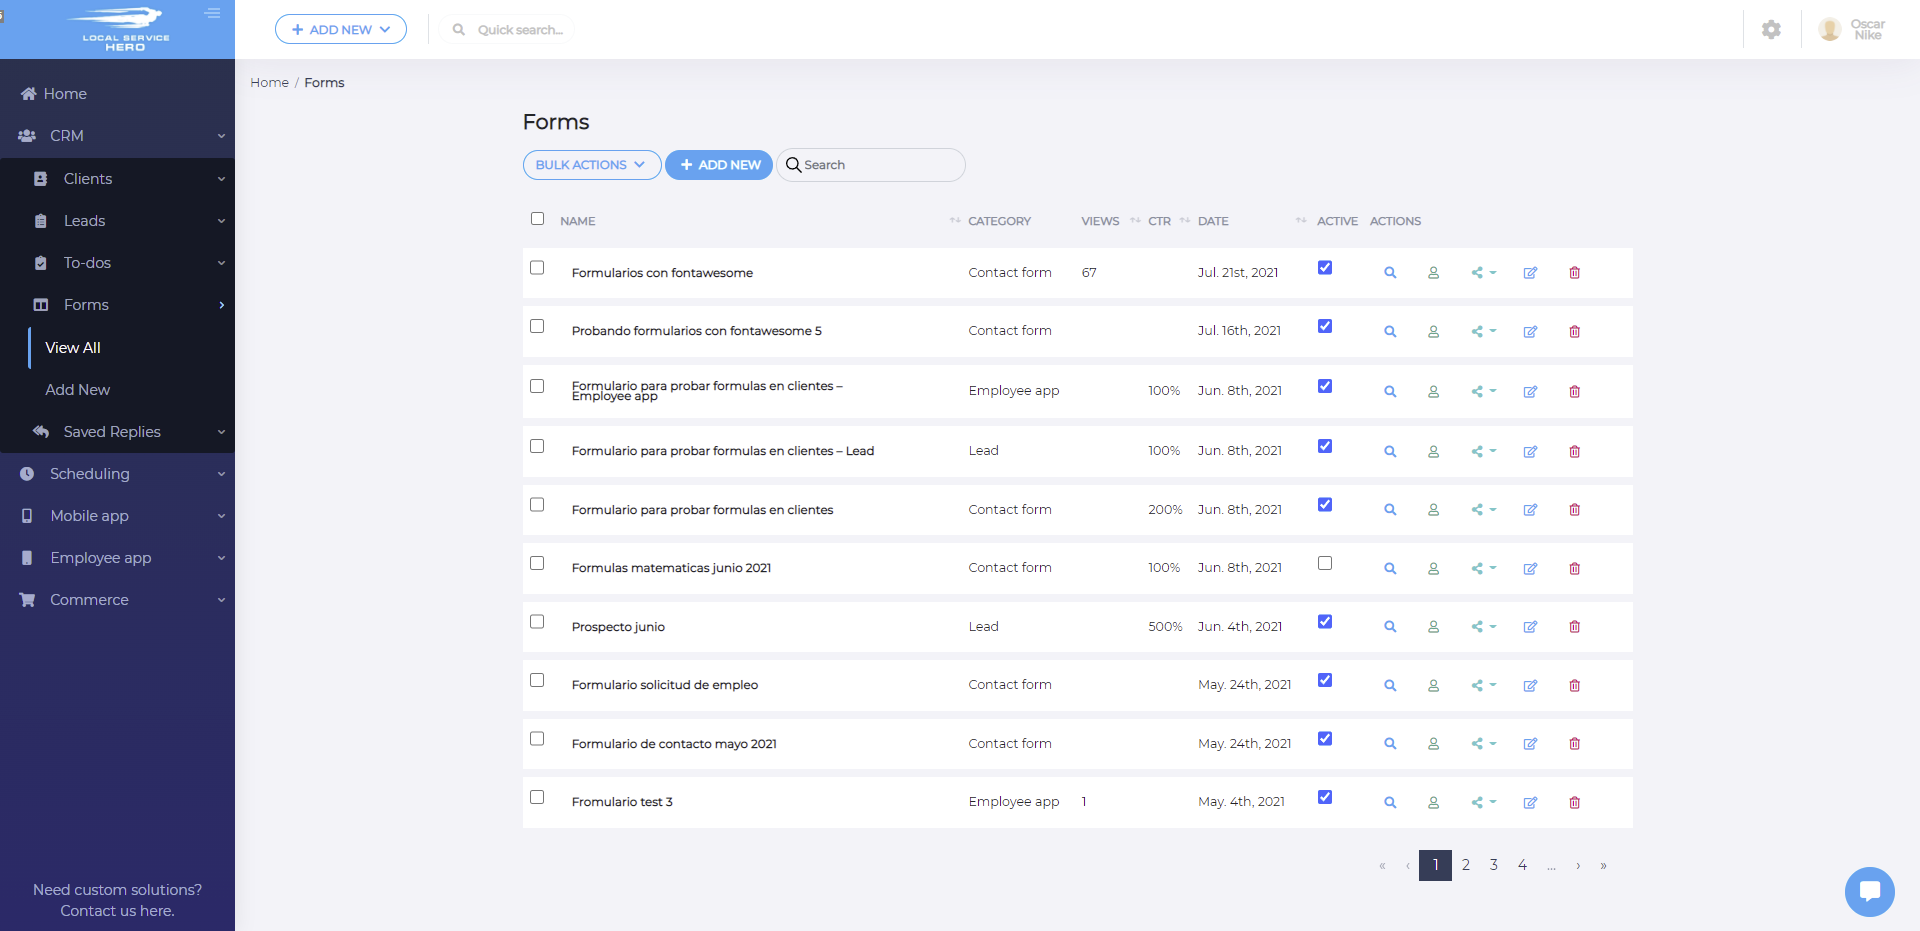
1- Add a new form
Now you need to click on the Add New button to create a new form.
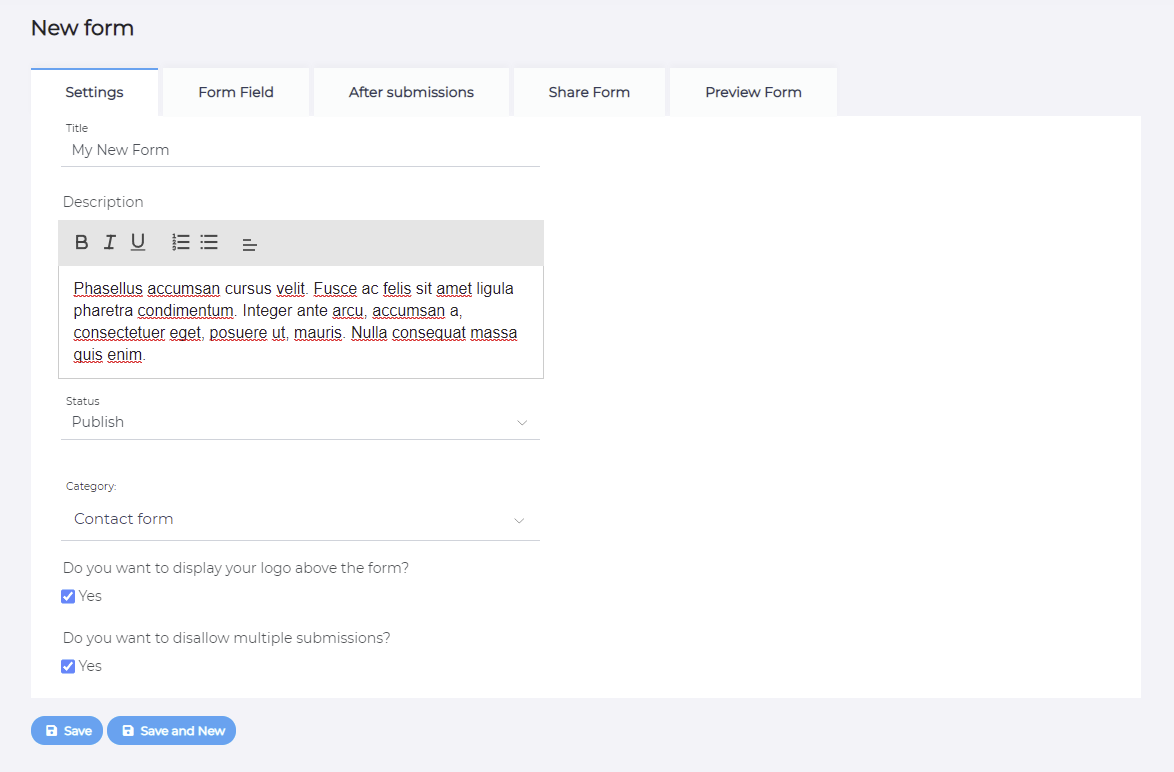
2- Set up the new form’s settings
First, you need to select the general settings of your new form by using the following fields:
- Title: Here you need to add the form name.
- Description: You can add a description of your new form.
- Status: You can publish the form or keep it as a draft.
- Category: It can be a contact form, or another type of form.
- Do you want to display your logo above the form: This option adds your company’s logo above the form.
- Do you want to disallow multiple submissions: Mark this option if you don’t want the form users to fill it more than once.
3- Set up the form fields
Here you can set up the form fields, add form templates, and select the form style and color scheme.
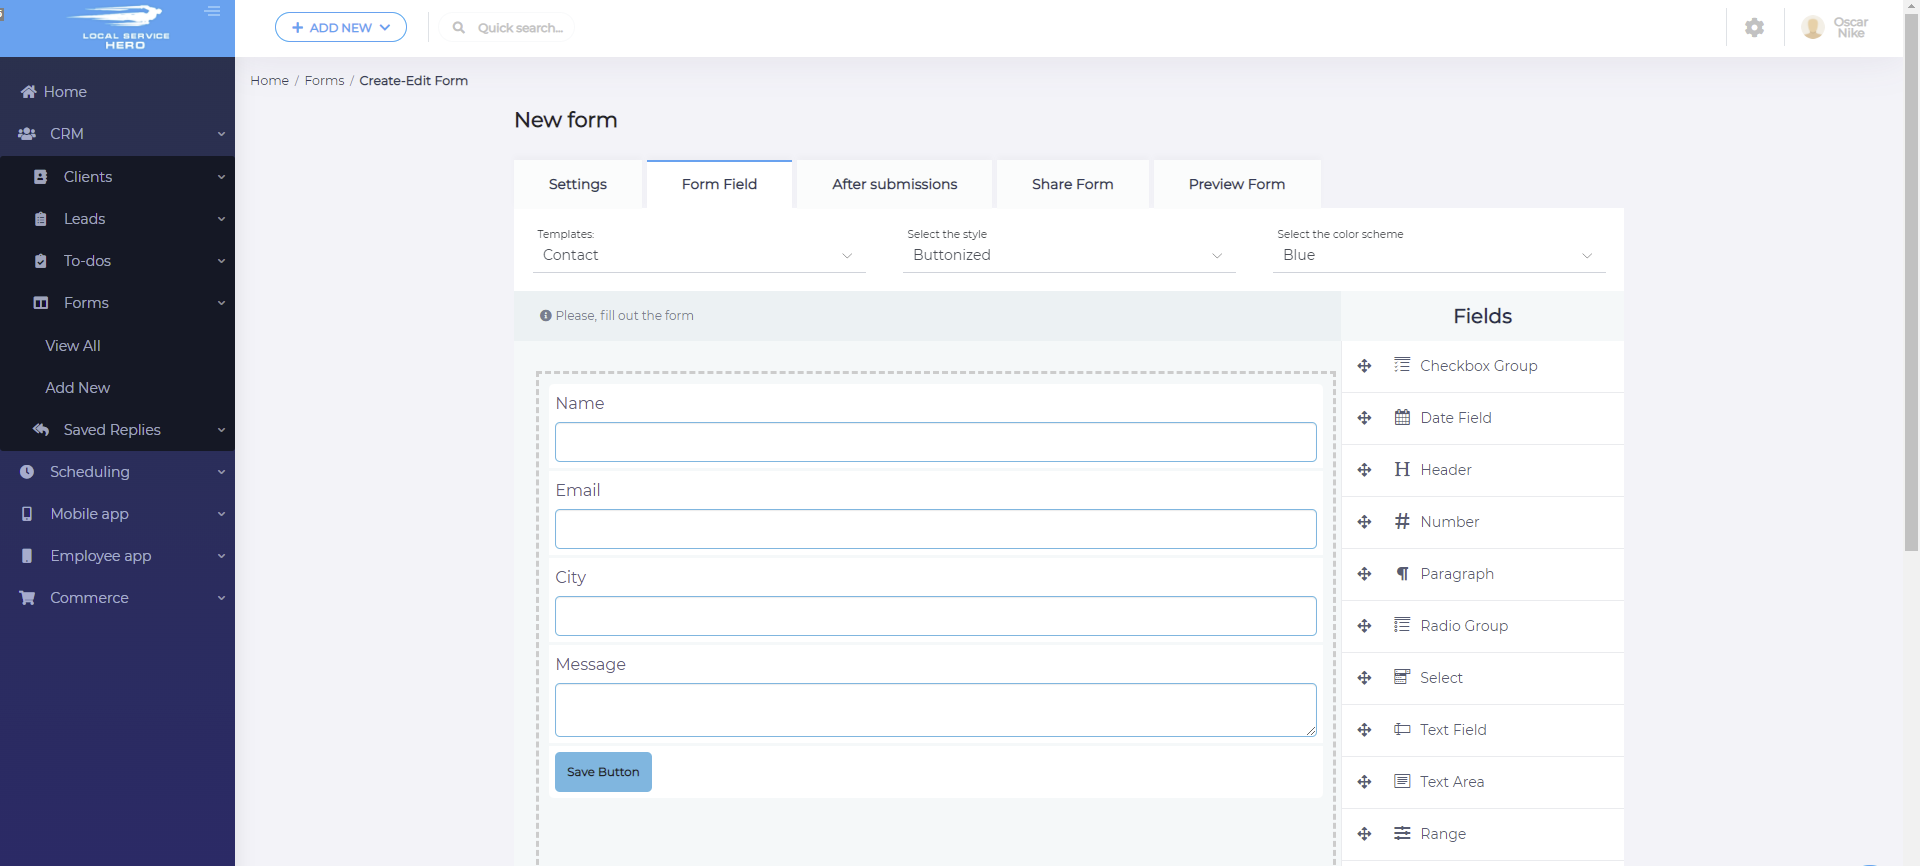
Use these fields to select the format and style of the new form:
- Templates: You can use existing forms as templates to import the fields to the new form.
- Select the style: You have these three options: Plain, Polished, Buttonized
- Select the color scheme: You can select between blue, green, gray, and orange.
After selecting this basic information, you need to add the form fields.
These are the fields you can add to your form:
- Checkbox group
- Date field
- Header
- Number
- Paragraph
- Radio group
- Select
- Text field
- Text area
- Range
- Range fancy
- Math
- Speedometer
- Address
- Billing address
- Contact details
- Sales tracking
- Billing details
- Employee details
- Submit button
- Clear button
4- Select what happens after the submissions
In the After submissions tab, you’ll find the necessary fields to select what happens after someone hits the submit button on your new form.
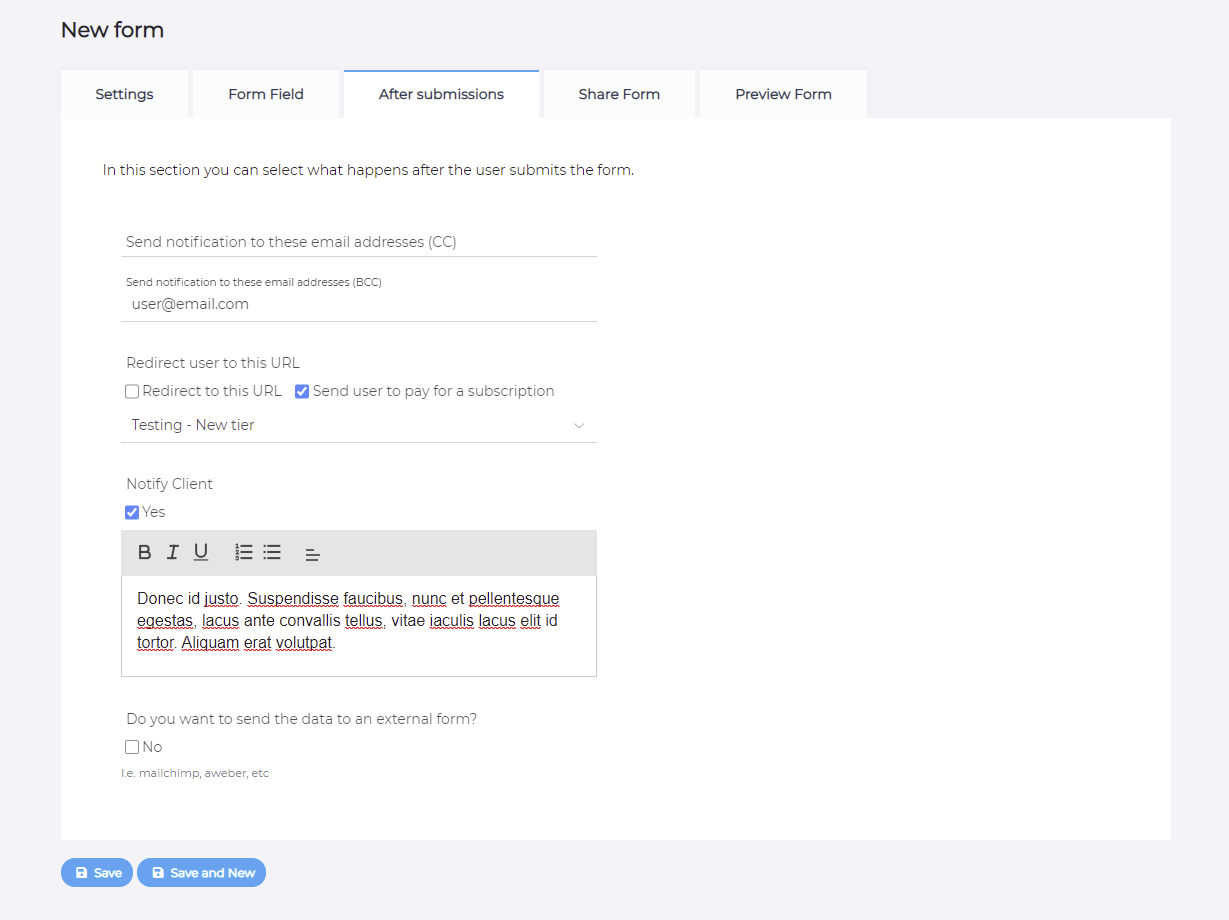
- Send notification to these email addresses (CC):
- Send notification to these email addresses: Add an email addreess where you want to get a notification when a new form submission is added.
- Redirect user to this URL: You have two options:
- Redirect to this URL
- Send user to pay for a subscription
- Notify Client: Enable this option if you want to notify the client. You can add a text to the notification.
- Do you want to send the data to an external form: You can automatically send the information added to the form to an external form. Just add the HTML code of the external form.
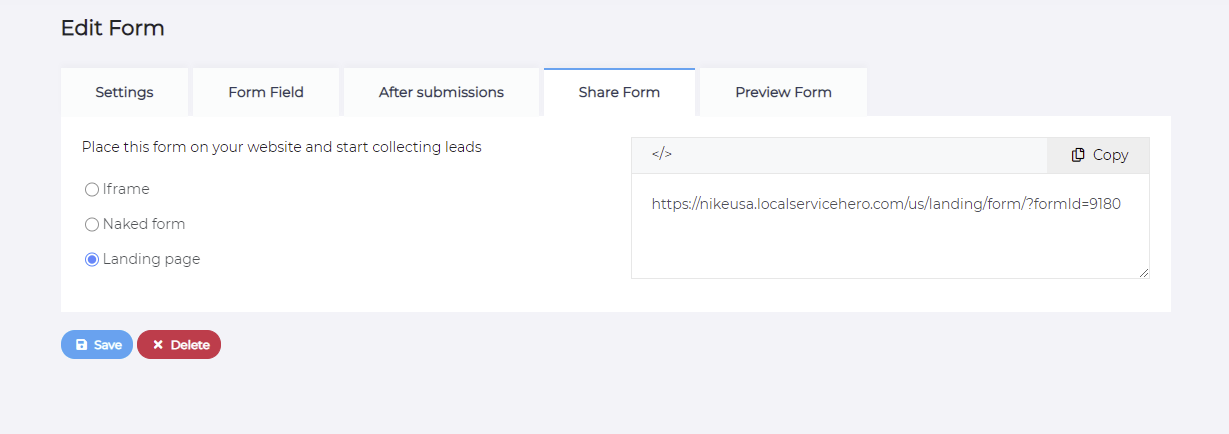
5- Select how you will share the form
You need to first save the form in order to select how you will share it. Once you save it, you can place this form on your website to start collecting information.
Here are the three options you have to share your form:
- Iframe
- Naked form
- Landing page
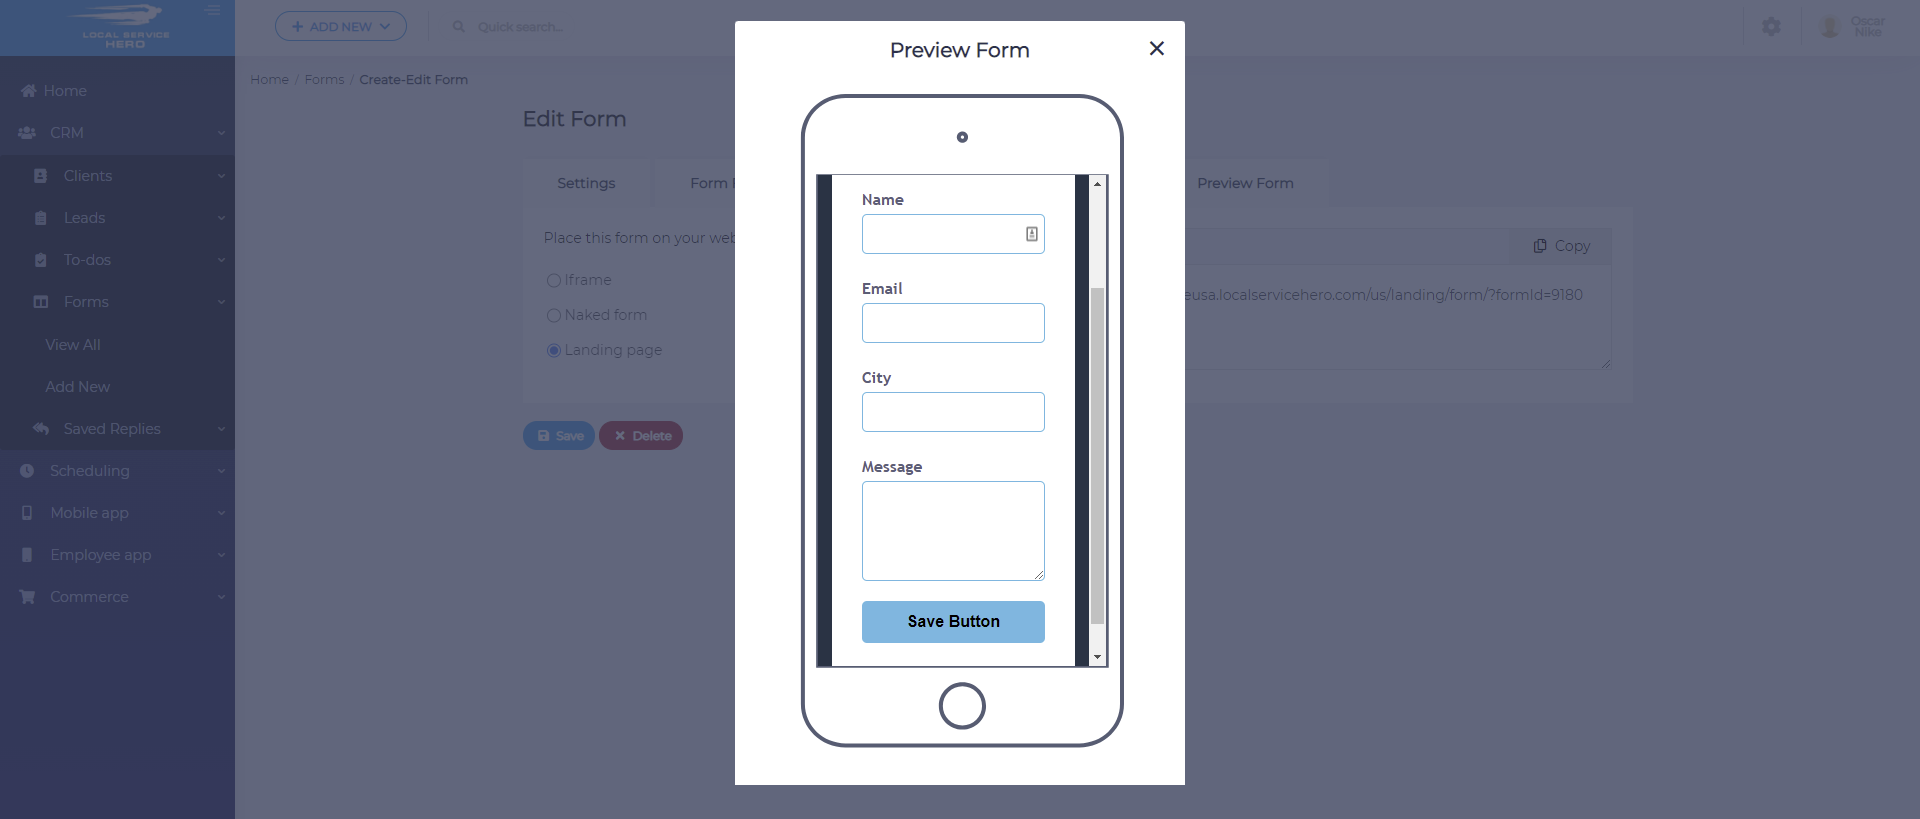
6- Optional – Preview your form
You can preview your form by clicking on the Preview Form tab. You will see a popup showing you a preview of the form on a smartphone-like format.
This is how you can create forms in Local Service Hero to get new clients, employees, leads, contacts, etc.


