

Let’s learn how to create services in Local Service Hero.
Local Service Hero allows you to create and manage services for your local business, so here we’ll show you how to add a new service.
You need to follow these simple steps:
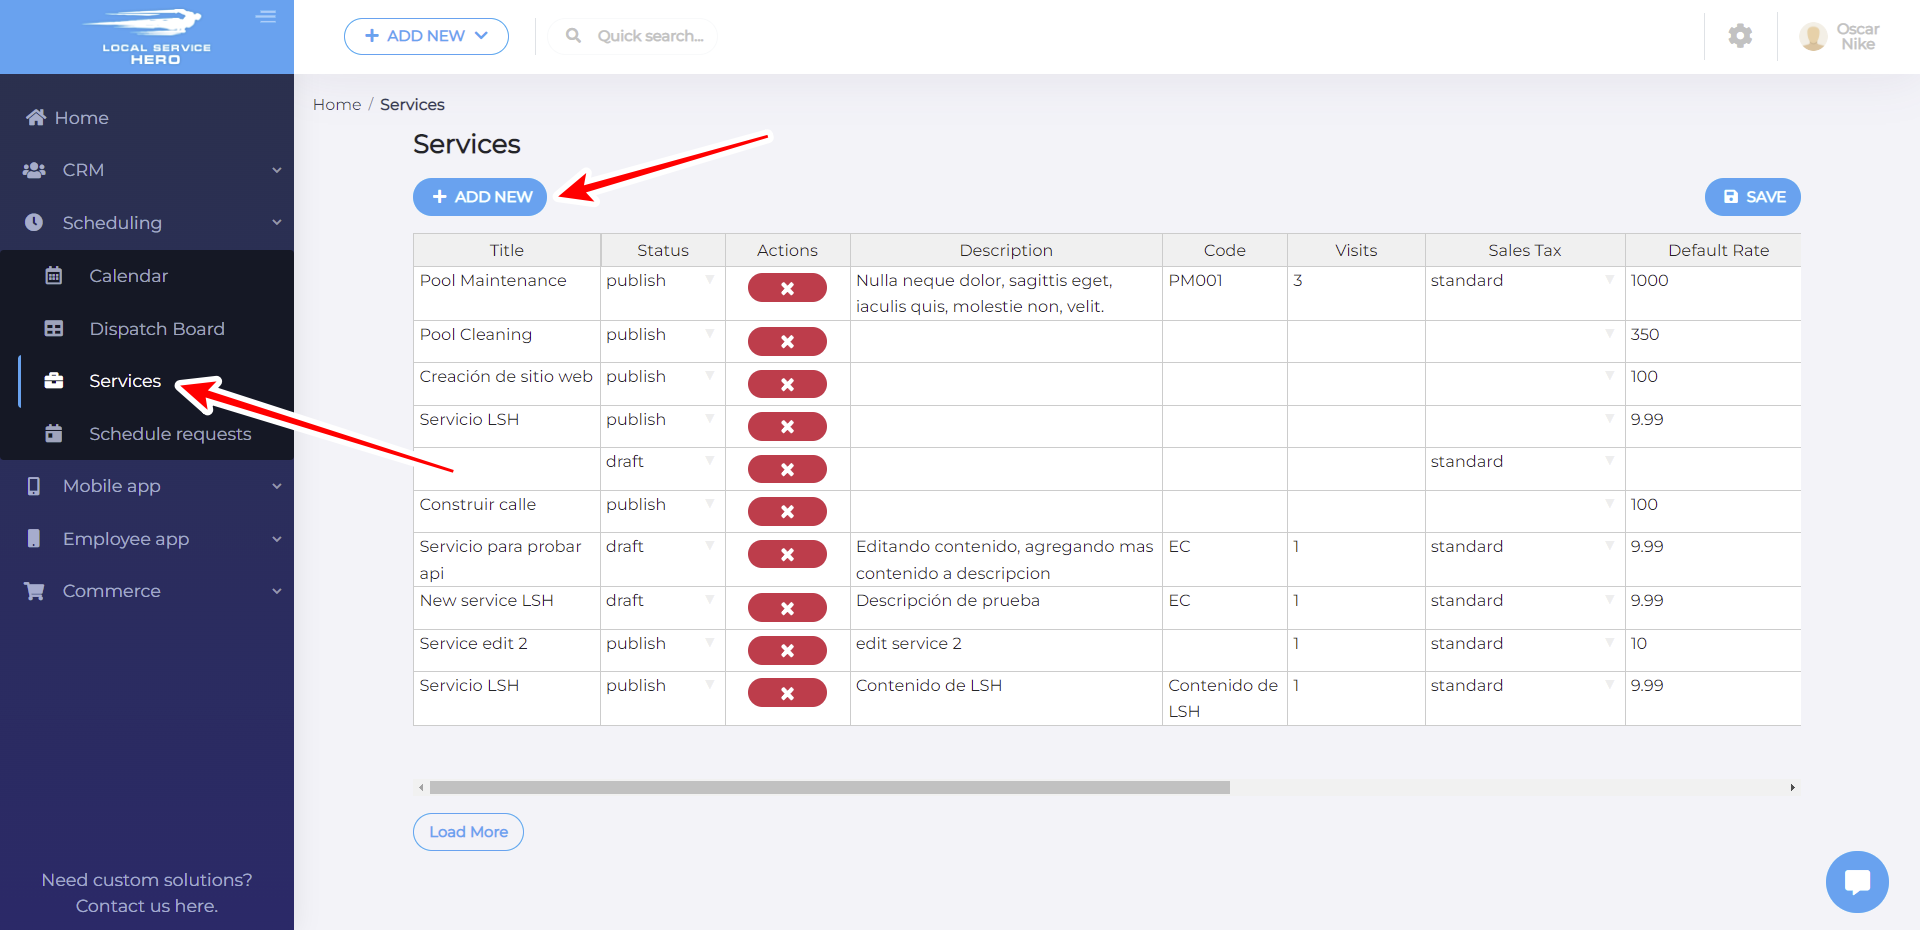
1- Open your Services page and add a new service
To open the Services page in Local Service Hero, you need to go to Scheduling > Services. There you’ll see all your services on a spreadsheet.
To add a new service, you need to click on Add New, which will create a new row on the services spreadsheet.
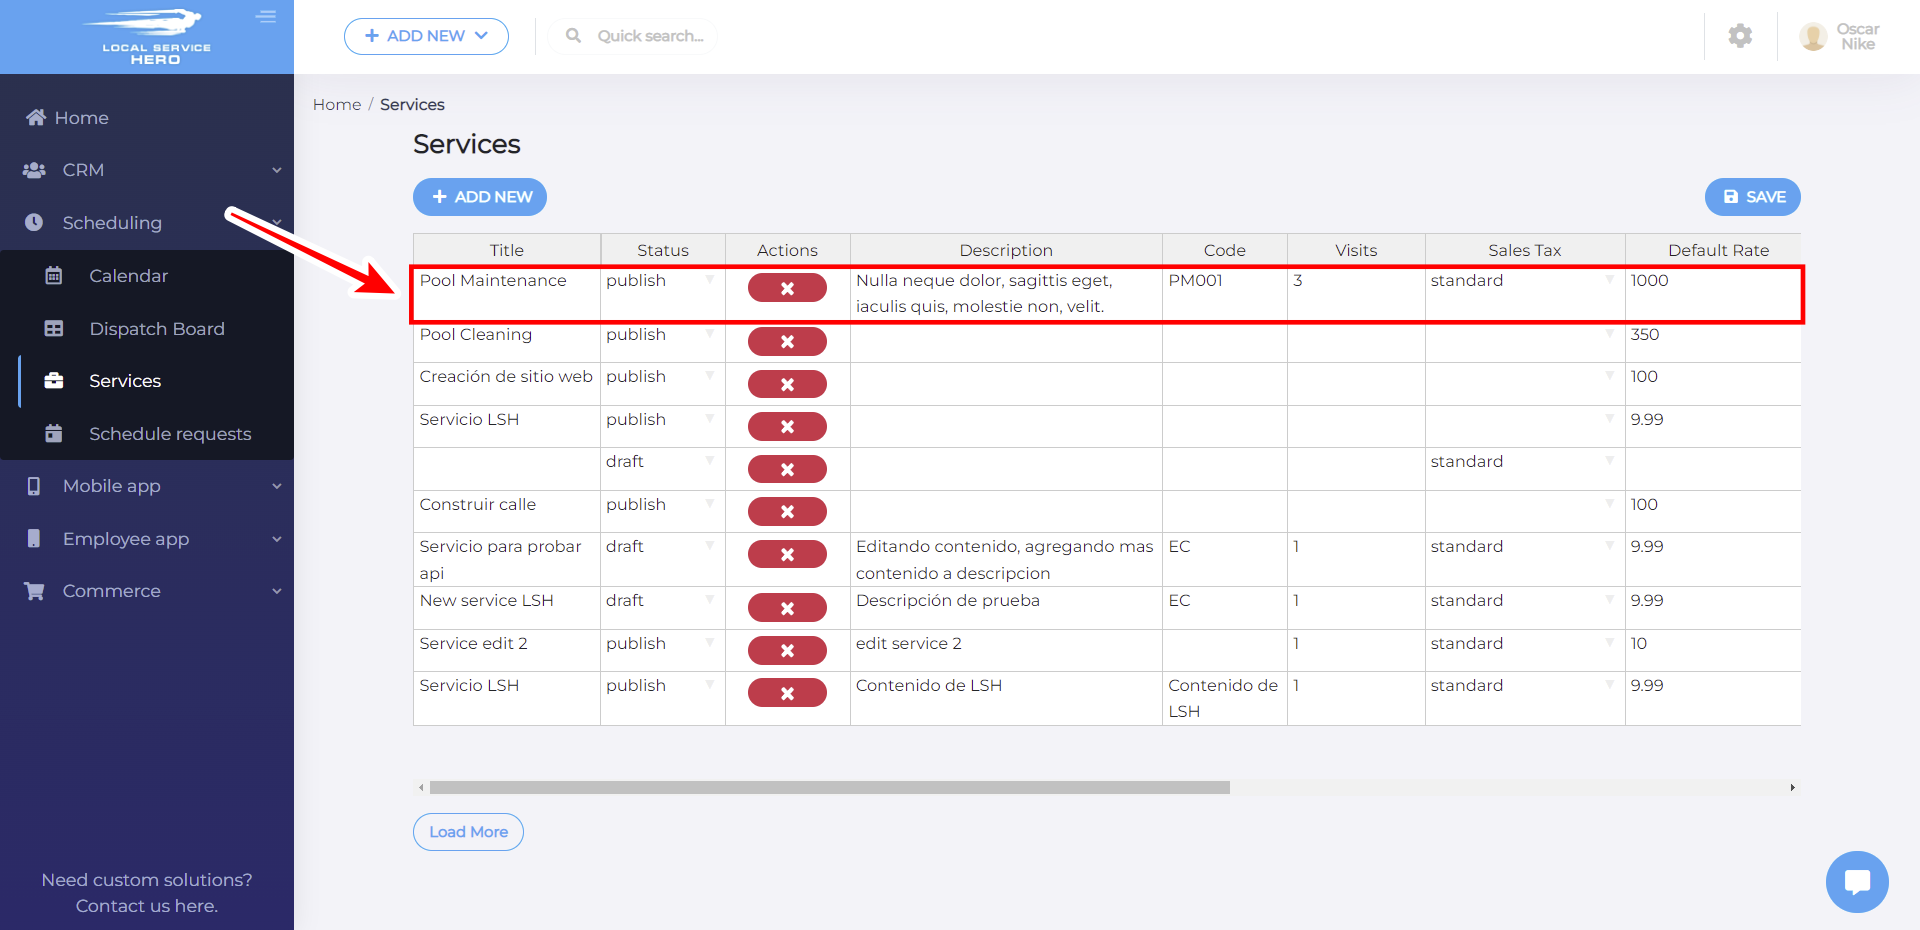
2- Add the new service’s information
You need to use the spreadsheet to add the information for the new service.
You’ll need to complete these columns:
- Title
- Status
- Description
- Content
- Code
- Visits
- Sales Tax
- Default Rate
- Default budgeted hours
- Minimum Amount
- Minimum Amount Message
- Service Mode
Once you’re done, you need to hit Save above the spreadsheet.
You can follow the same steps to create new services in Local Service Hero.


